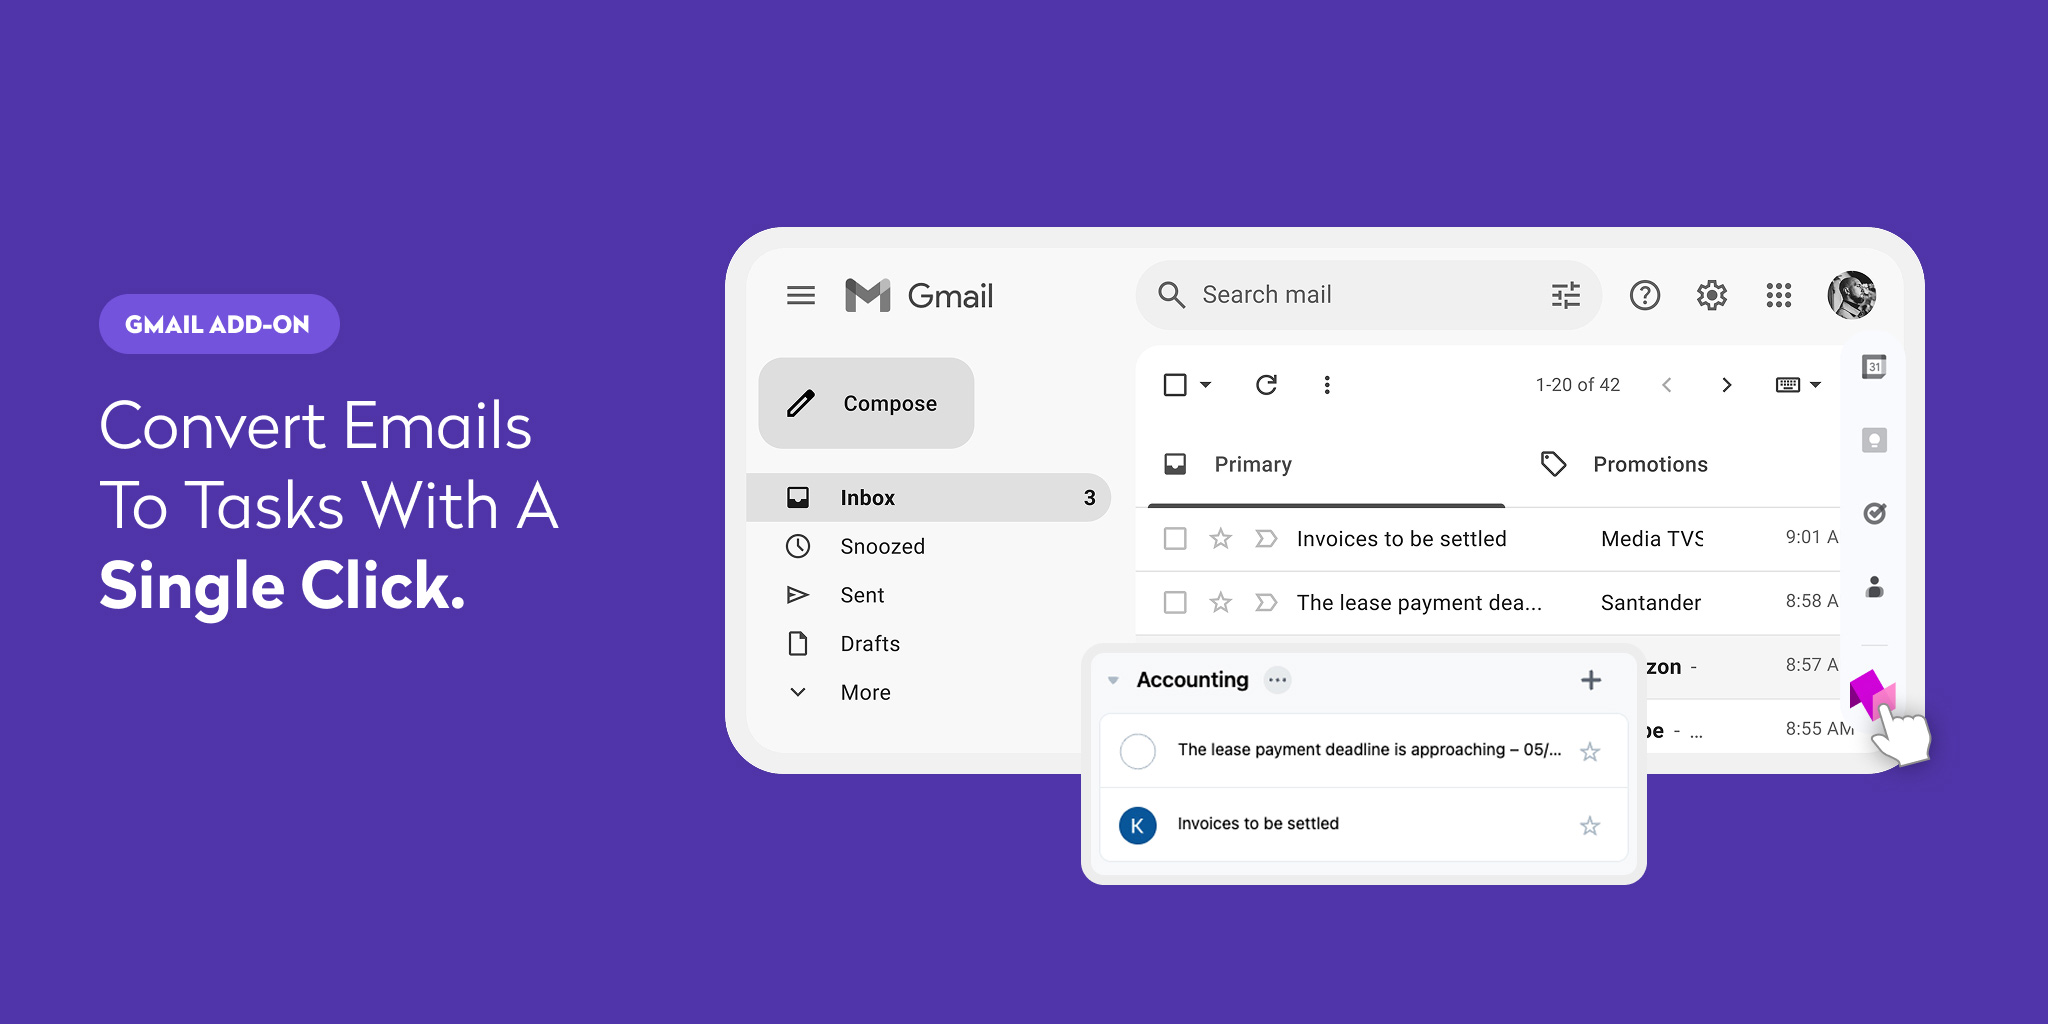
Simplify your workflow by transforming emails from your Gmail into tasks in Nozbe with just a few clicks!
Why Nozbe for Gmail™?
Nozbe for Gmail™ seamlessly connects your Gmail™ inbox with Nozbe, the task and project management app trusted by hundreds of thousands of users worldwide. Once installed, you can convert any email—even ones with attachments—into a fully-fledged task without ever leaving Gmail.
With this add-on, you’ll be able to:
- forward emails directly into Nozbe,
- create tasks on the fly,
- and set priorities and due dates so nothing slips through the cracks.
In short, it brings the power of Nozbe’s organized task lists and project spaces directly into your inbox.
Get your Nozbe Gmail™ add-on for Nozbe »
How to Get Started with Nozbe for Gmail™ Add-on
-
Click the link. You’ll be taken to the Google Workspace Marketplace page for Nozbe for Gmail™.
-
Select the Gmail account where you’d like to install the add-on. If you’re signed into multiple Google accounts, pick the one where you manage your day-to-day email.
-
Sign in to that account if prompted.
-
Gmail will display a permissions screen explaining what Nozbe for Gmail™ needs to do:
- Manage drafts and send emails when you interact with the add-on
- View your email messages whenever you use the add-on
- View email message metadata (subject lines, senders, timestamps) while the add-on is running
- Operate as a Gmail add-on in your sidebar
Click Allow to grant these permissions.
Once you’ve done this, the Nozbe add-on will appear in your Gmail sidebar—ready to help you turn any email into a Nozbe task.

Turning an Email into a Nozbe Task
After installation, follow these steps to convert an email into an actionable item:
-
Open the email you want to turn into a task.
-
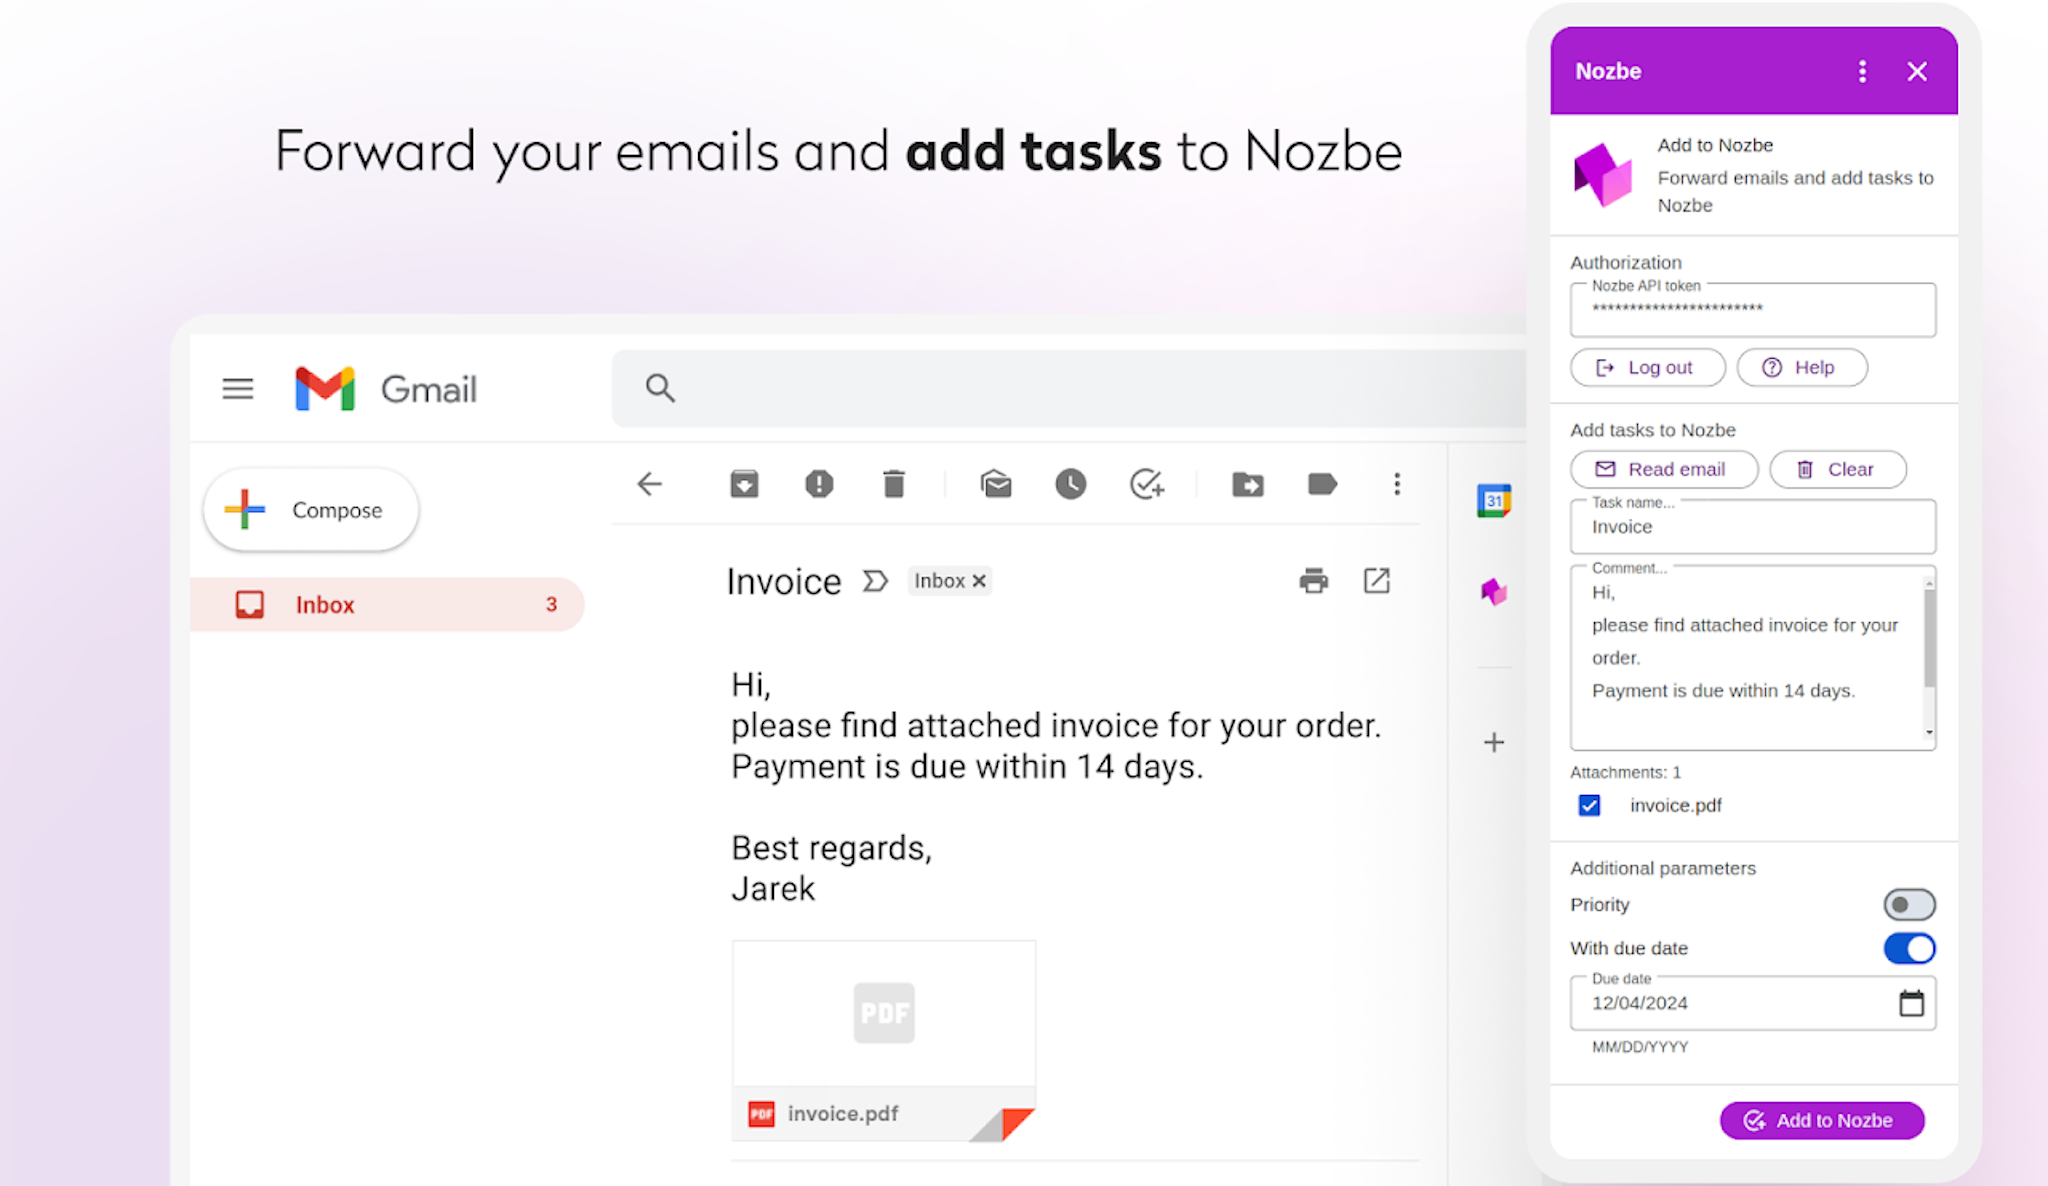
Click the Nozbe icon in the Gmail sidebar. A pane will slide in from the right.
-
Click “Read Email” so that the add-on analyzes the the message.
-
You’ll see fields prompting you to choose:
- Which Nozbe space the task should be sent to (if you have more than one space)
- The task’s name—by default, it will use the email subject, but you can edit it
- Your first comment—this can be a note, context, or instructions for whoever will handle the task
-
Below those required fields, you can refine the task further:
- Add it to your priority list
- Set a due date by selecting a date from the calendar picker
-
Press “Add to Nozbe.” The add-on will bundle up the email (including any attachments) and send it to your chosen Nozbe space. You’ll immediately see that new task appear in your Single Tasks view from where you can replace it to any project in Nozbe. It will also show up under Incoming in the Recently Added section, ensuring it won’t get lost in your backlog.
From now on, you can manage that task just like any other in Nozbe—add subtasks, assign it to teammates, leave additional comments, or mark it complete when done.
What Happens Behind the Scenes
When you “Add to Nozbe,” here’s what happens step by step:
- Nozbe grabs the email’s content, including attachments, and creates a new task with that information.
- The task’s title defaults to your email subject, but you can change it before sending.
- The first comment in the task includes a link back to the original email and any notes you typed in.
- If you mark it as a priority, it will appear in your Priority view within Nozbe.
- If you choose a due date, that date will be assigned to the task so it shows up on your calendar and in date-based filters.
- Finally, Nozbe places the task in the designated space you selected—ensuring it’s organized exactly where you need it.
Why This Makes a Difference
- Never Lost: Instead of hunting for a critical email from days ago, you’ll find it in its own dedicated task drawer, complete with all attachments and comments.
- Clear Next Steps: By naming the task, leaving the first comment, and setting a due date or priority, you define exactly what needs to happen—and when.
- Seamless Workflow: You can choose this option as an alternative for sending email to Nozbe option where you forward emails to a unique email address generated by Nozbe and directing messages to specific projects and sections in Nozbe.
Permissions Explained
When you install Nozbe for Gmail™, you’ll see that it needs permission to:
- Manage drafts and send emails: This allows the add-on to create a draft of a message to Nozbe customer support in Gmail after you select „Contact support”.
- View your email messages: Only when you open an email and launch the add-on does it scan the content to package it as a task.
- View your email message metadata: This lets Nozbe attach the sender, subject line, and timestamp to the new task, so you always know where it came from.
- Run as a Gmail add-on: This enables the sidebar integration—so the Nozbe button appears right in your Gmail interface.
Rest assured: Nozbe only acts when you explicitly choose “Add to Nozbe.” Your emails remain safe and private—Nozbe’s servers simply store the data you send to them as tasks.
You’re All Set!
Once Nozbe for Gmail™ is installed and you’ve granted permissions, you’re ready to hit the ground running. Anytime you see an email that requires action—whether it’s a client request, a shared document, or an invoice—open it, click the Nozbe icon, and transform it into a task. No copying, no pasting, no switching tabs.
👉 Ready to try it? Get the Nozbe Gmail™ Add-on
Need More Help?
If you run into any issues or have questions about specific features drop us a note via support@nozbe.com — we’re here to help you work smarter, not harder.
Happy tasking! 🚀


