Your team needs a safe place to work and exchange feedback and a space for natural organization to keep everything in order. You want to communicate effectively, move your projects forward, and be sure that nothing gets lost, right?
We wanted that too, and that’s how Nozbe came to fruition. Give the app a try and create your team productivity system all in one space. Read on to learn how to get started.
First watch this video by Michael and then read on to systematize the information provided in the video.
1. Set up your team account
First, you’ll want to create your account, if you haven’t yet. Nozbe is free for teams of up to 3 people and up to 3 active projects. We don’t ask for your credit card details or anything when setting up the free account. You don’t risk anything at all.
Click here, sign up for your account, tell us your name, give your team a name, and confirm your email address in your mailbox right away.
Once you are done, you will be able to log in to your app. You can do that on your computer, tablet, iPhone, or Android smartphone.
Now, you’re ready to invite collaborators to your space in Nozbe. First, try with the closest ones – it will be easier for you to start small and see how the implementation is going.
✅ To add someone to your workspace, go to the Members view from the menu on the left and click the ➕ icon. Then choose whether you want Nozbe to generate an invite code that you can share in any way you like, or enter the email address of the person (or people) and send them an invitation.

You can find detailed information about inviting new team members on our Help page. If you run into any issues or need assistance, contact our Customer Support team at questions@nozbe.com. We’ll be happy to help you with anything!
2. Create your first projects to define your goals
Basically, everything you work on is a project. It can be a campaign, a client, a product, an event, a business idea…) Anything! But before you start working on it, the project needs to be clearly defined. Think about the goals you want to achieve in the near future and create projects for them in Nozbe.
✅ Creating a new project in Nozbe is simple. To do this, use the ➕ icon next to the Active Projects section in the menu on the left, then type the name and confirm.

You can use AI to generate a project populated with tasks with adequat comments.
By default, in the free version of Nozbe, everyone on the team has access to new projects. With a Premium account, you can limit project visibility to selected people or just yourself.
Also remember that not all projects need to be part of your workflow or be actionable. Some of them can simply serve as a knowledge base, a CRM, or a place to store ideas, documents, or materials.
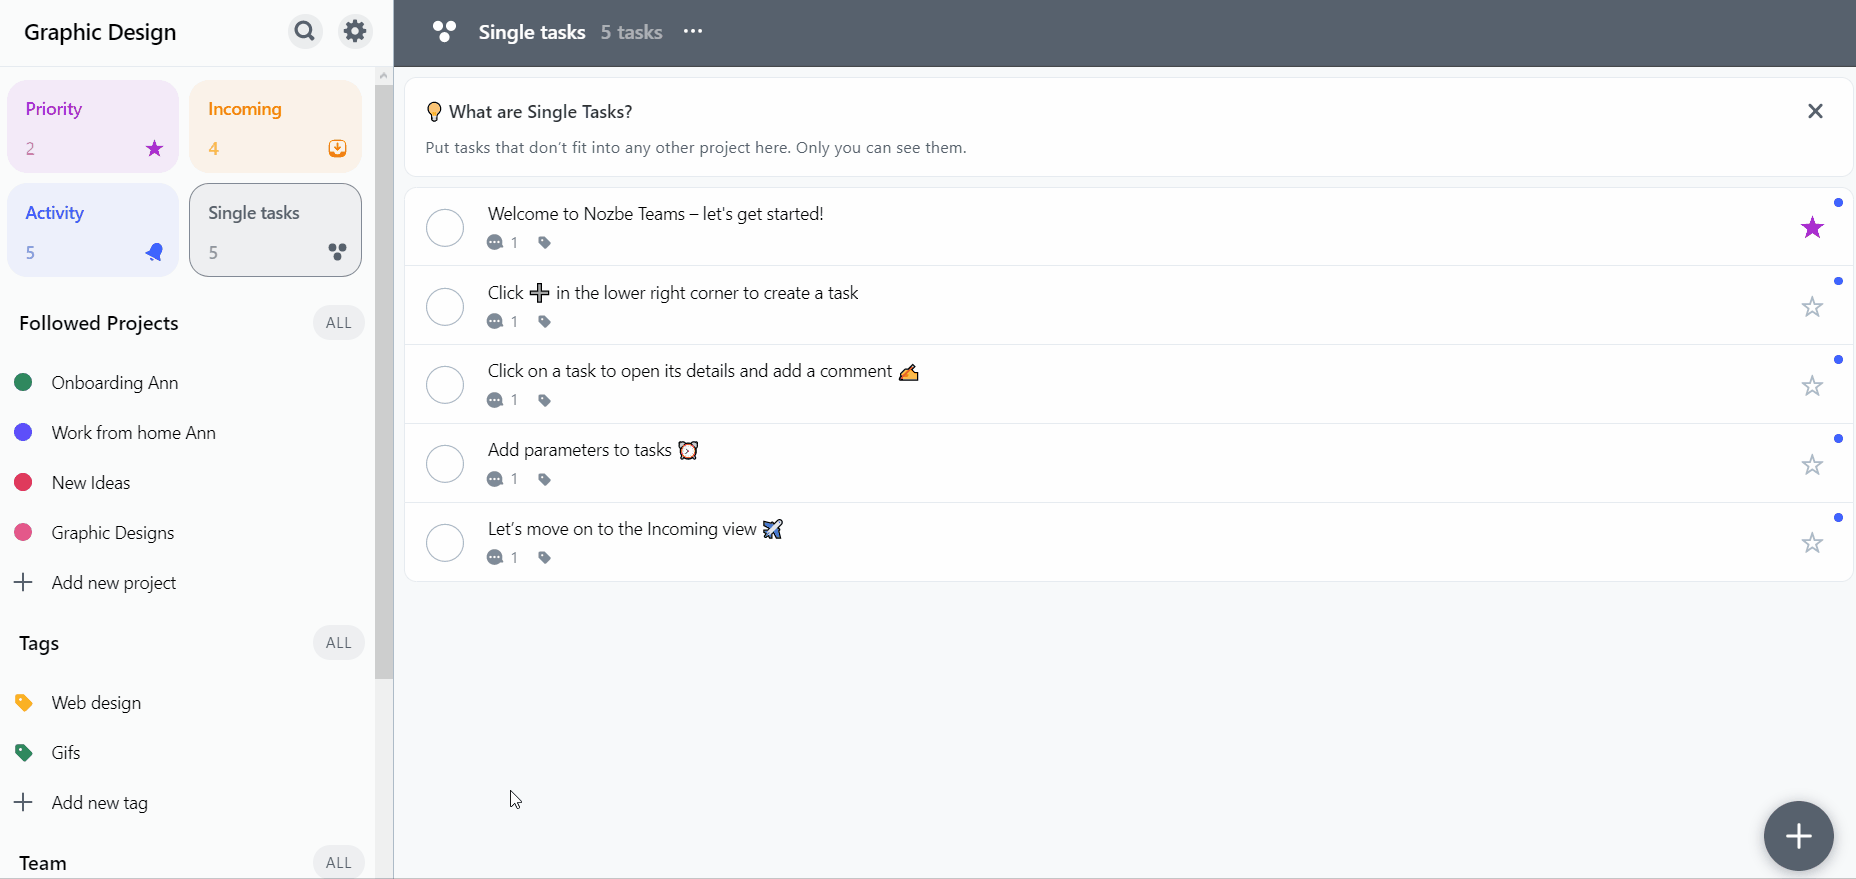
3. Fill your projects with tasks - so everyone knows what needs to be done
Every project consists of a list of steps required to complete it. You can probably think of a few already. Create a list of things that need to be done and add them as tasks to your project. Don’t worry if you forget something - you can always add more later.
✅ To create a task, open a project by clicking its name in the project list. In the bottom-right corner of the view, you’ll find a ➕ button. Use it to add a task.
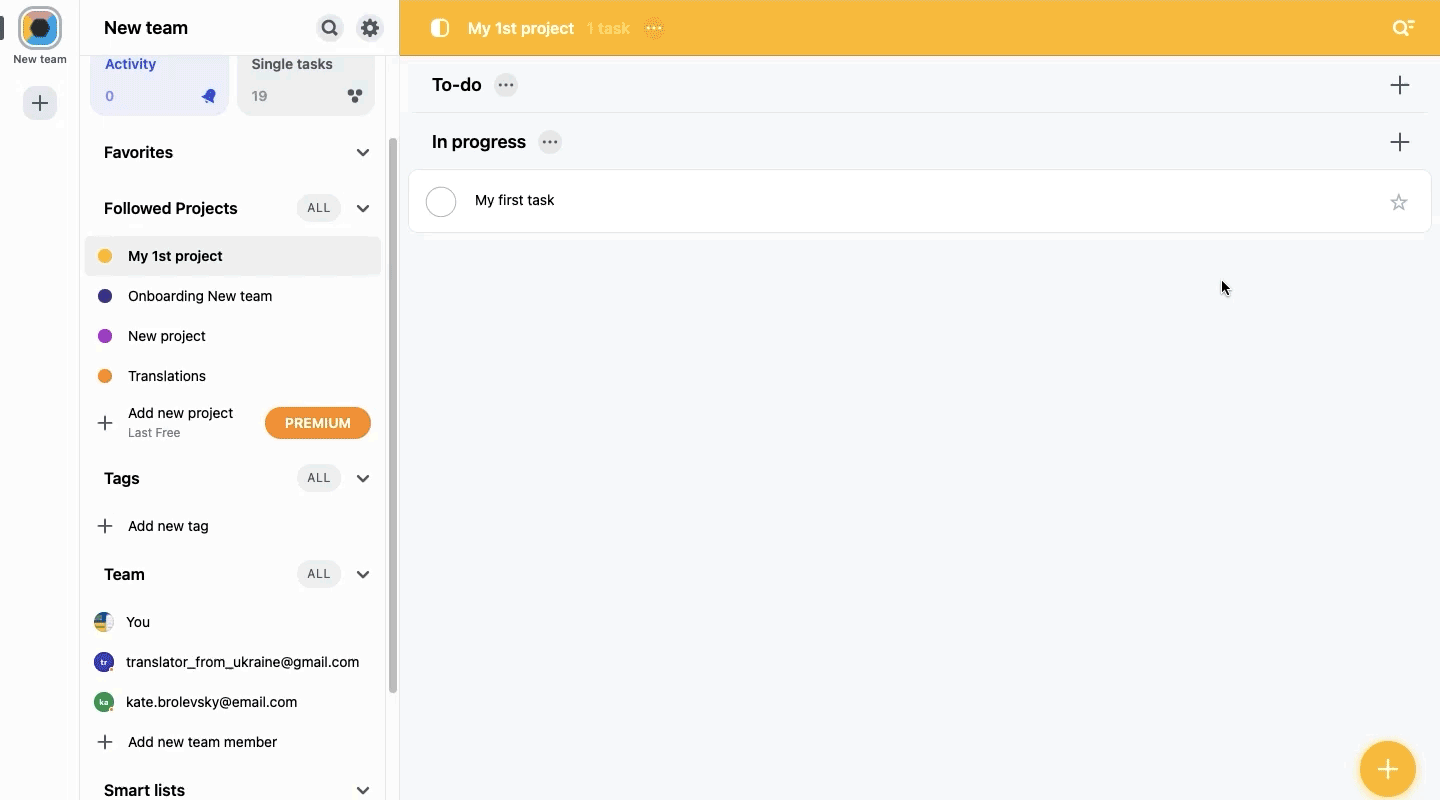
When creating a task, make sure to give it a clear and precise name so everyone understands what it’s about.
You can add more details to the task to include additional information and set a due date.
You can also set a reminder to get notified about the task at a specific time. Choose one of the suggested options or enter an exact date and time. When the time comes, you’ll receive a notification in the mobile app, and the task will appear in your Incoming view.
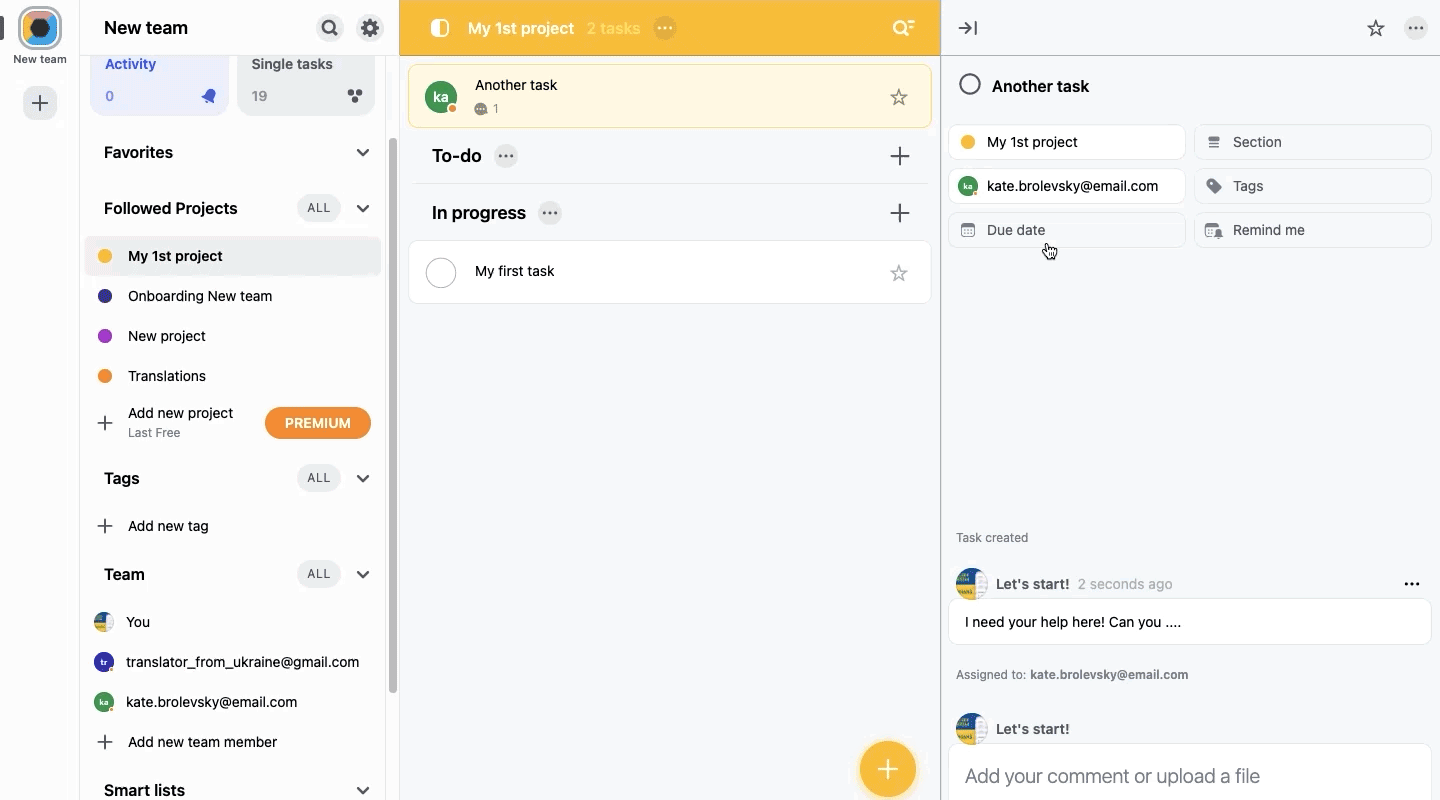
4. Communicate through tasks - improve your team’s workflow
To smoothly complete projects, it’s important to clearly describe tasks and assign them to the right person. If you’re the one working on a task, you can use comments to note some information or ask a team member for advice or feedback.
Sometimes a task is simple enough that its name alone is enough for your teammate to know exactly what to do.
If more details are needed, you can include them in the task comments. Comments are one of the most powerful features in Nozbe. In addition to text, you can add images, files, and other attachments. If a task is more complex, you can break it down into smaller steps using a checklist.
✅ To add a comment, open a task and click the Add a comment field. The options at the bottom show that you can add text, checklists, numbered lists, and files.
Once the task details are clear, assign it to the person responsible for completing it and ask them to notify you when it’s done or if they encounter any issues. Right there — in the task.
I’d compare projects and tasks in Nozbe to folders and binders in my mom’s office back in the 80s. Everything is stored in one place. They contain all the materials you can always come back to and the full history of a given task. This is especially useful when someone new joins the team. Within tasks, you can:
- have discussions in comments,
- give and request feedback,
- add files, images, and links.
Everything stays there forever, because you can search and restore tasks even after they’re completed. And the best part is that with apps on all devices, you can access your projects from anywhere in the world.
The title of this section is “Communicate through tasks” — it’s about working inside tasks and discuss details in comments. At Nozbe, we value this way of communication and prefer it over meetings, calls, emails, and everything else. You can read more about it in this blog post.
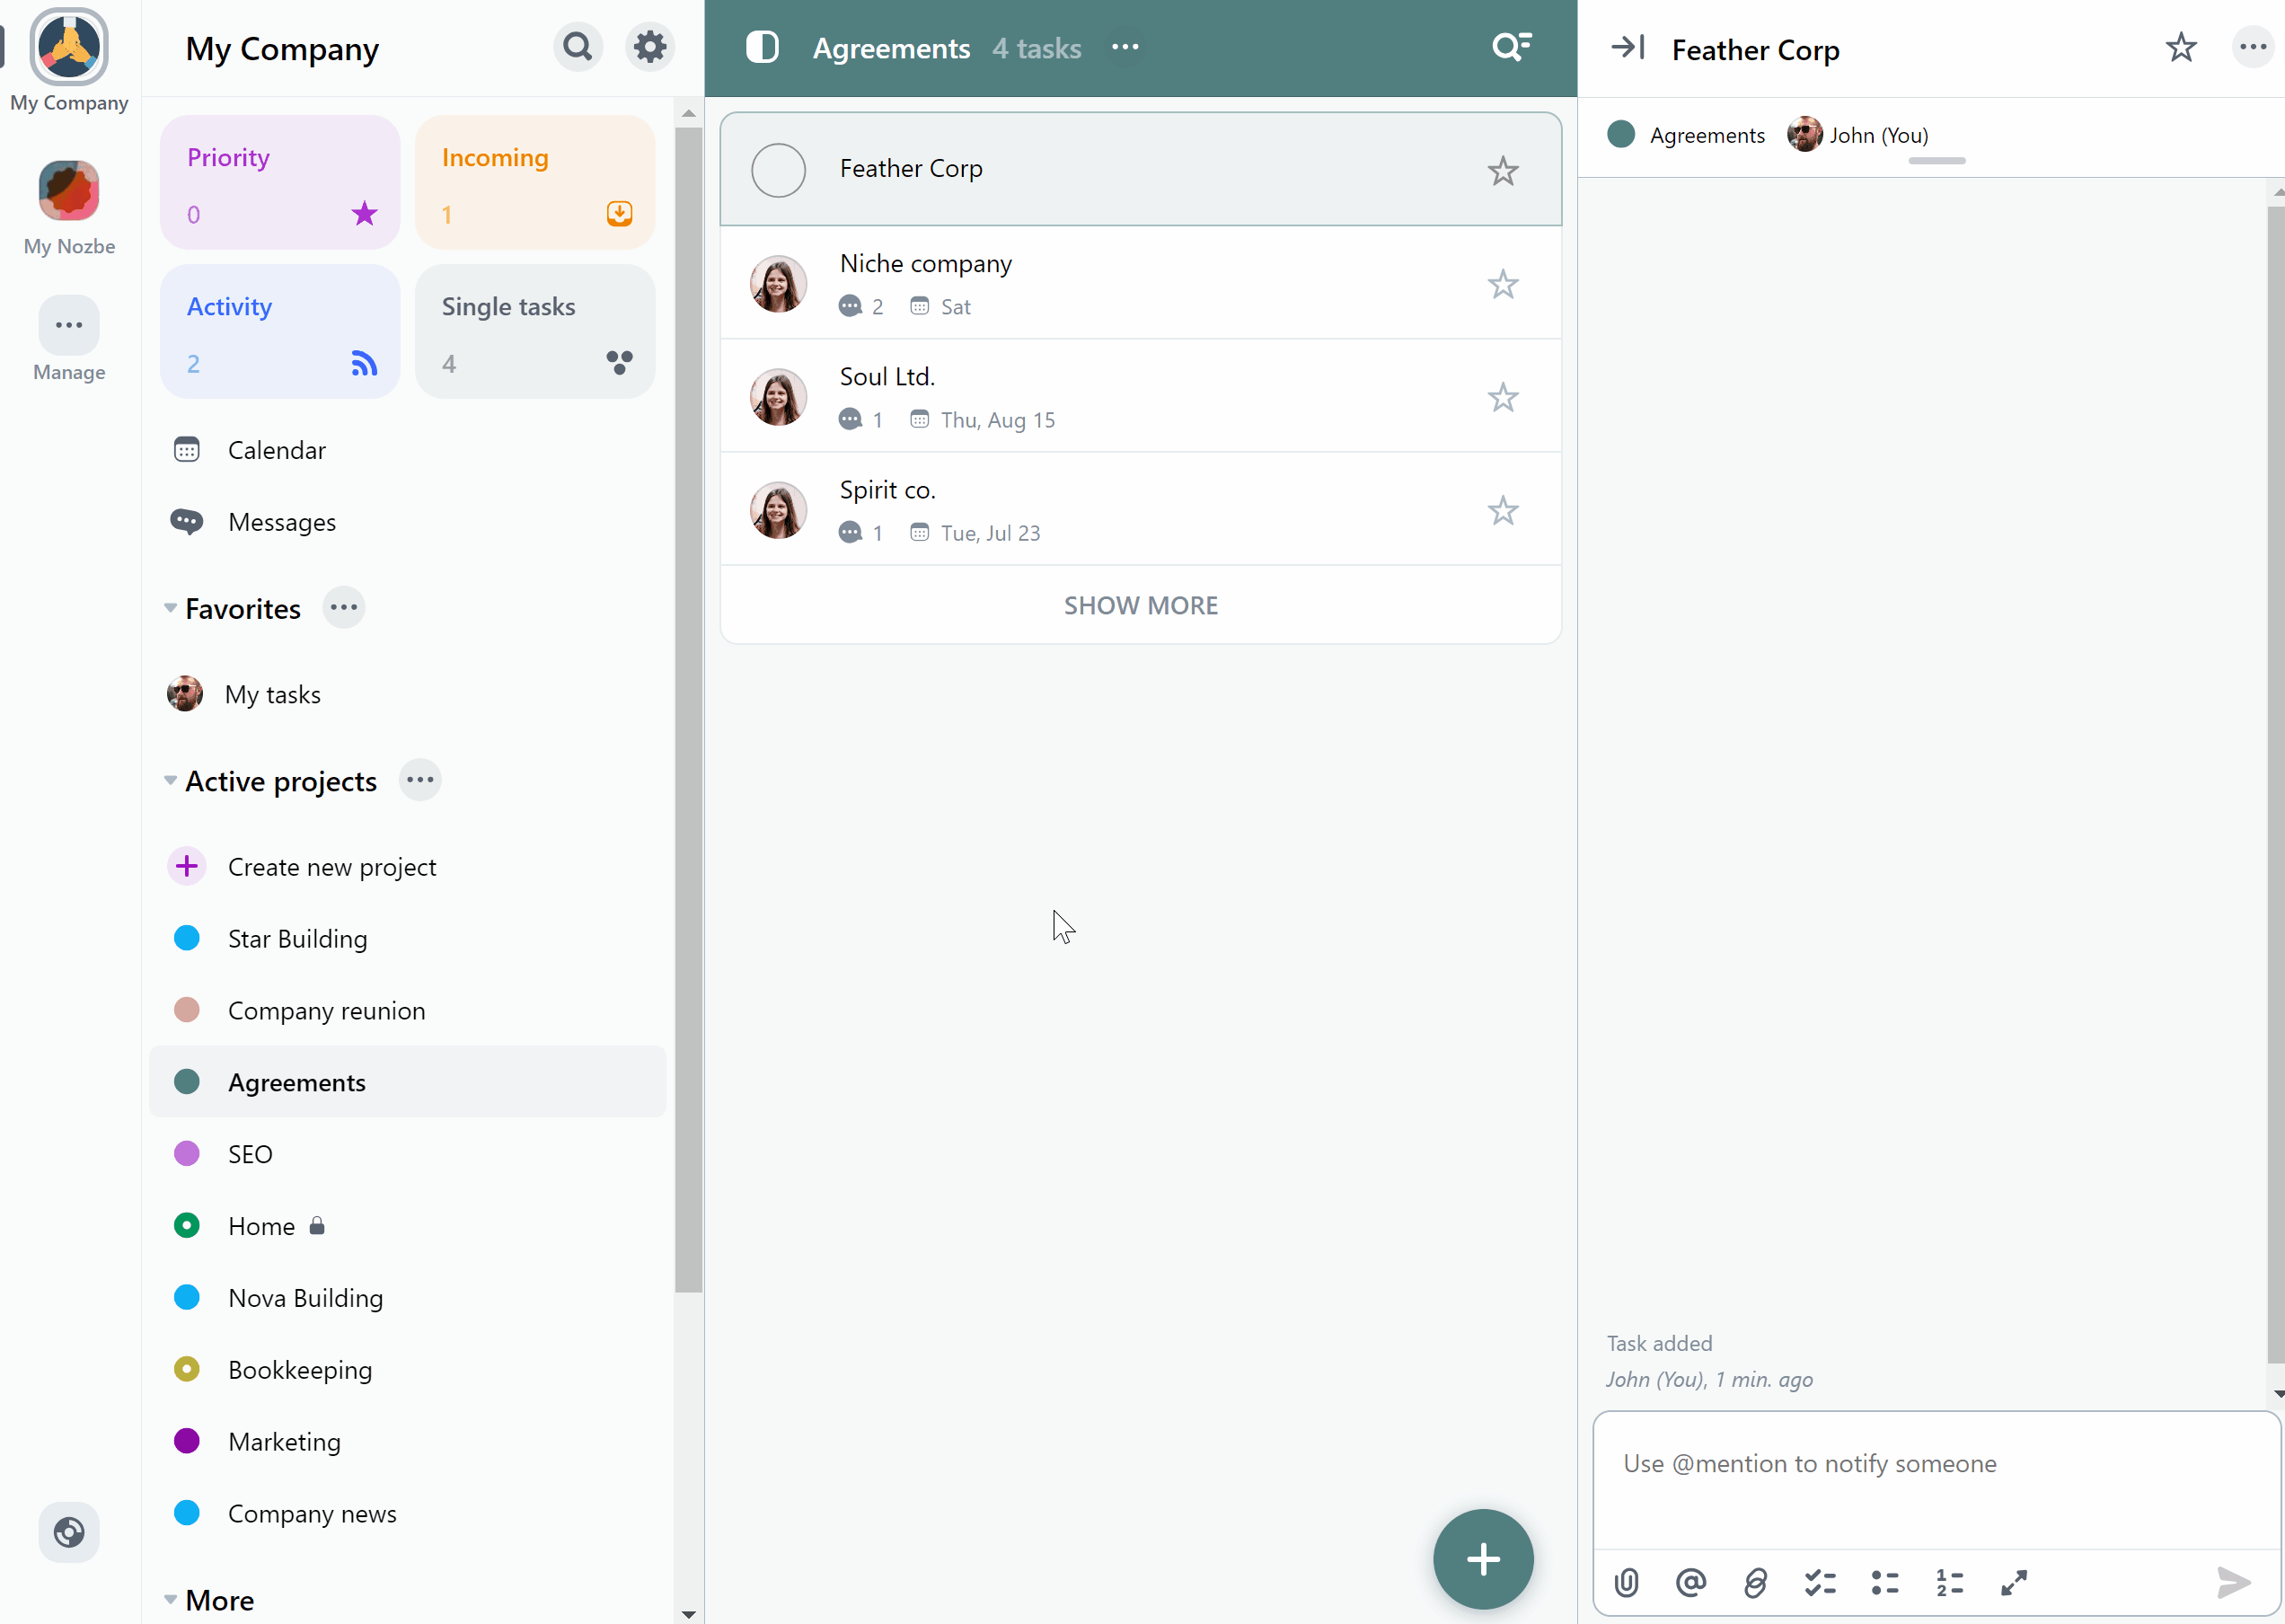
5. Easily manage company projects and tasks — task management app
With a long list of projects, it’s worth organizing them.
To stay up to date with everything happening in a project, you can follow it. Then you’ll see every update—even the smallest one - in the Activity view. In Nozbe, you automatically follow every project you create.
What about projects created by other team members? You can manually follow them if you want to track their progress.
✅ To do this, open the project by selecting it from the project list and toggling the Follow button.
If you want to focus on a specific project, you can also add it to Favorites.
✅ To mark a project as Favorite, open it and go to its menu using the (…) icon next to its name. The Favorite option is marked with a heart ❤️.
Of course, you can also follow or favorite a project from the Activity view.
Another way to keep things organized in Nozbe is by using project sections. They allow you to divide projects into thematic blocks, stages, or milestones.
✅ To create a new section, open a project, go to its menu using the three-dot icon at the top of the view, and choose Add section.
Once you’ve created sections, you can move existing tasks into them using the Section button in task details or by dragging and dropping them.
👉 One more thing: when creating a new task, you can click the + icon next to the name of the selected section to add the task directly there.
You can also use tags, which help batch tasks from different projects based on a person, place, or tool required to complete them. A great example is “phone,” which can be a tool needed for tasks across multiple projects. You can also create a tag with a client’s name to group all related tasks.
✅ How do you create your first tag? Go to Tags in the menu on the left and hit ➕ once there.
✅ You can assign a tag directly in task details. Click the Tags button at the top of the task view and select an existing tag or choose ➕Create a new tag.
Grouping projects
You can also organize your projects in the Nozbe left-hand sidebar into groups — just like folders on your computer. How?
First, go to Project groups in the main menu on the left. In that view, use the ➕ icon to create a new group, name it, and use the Manage projects option to add selected projects.
Once your group is ready and contains selected projects, you can place it in the main menu where the Favorites are.
To do this, open the group menu (via the (…) icon) and toggle the “Show in sidebar” option.
Now you can organize your projects into groups and arrange them in the sidebar however you like.
6. Stay up to date — Activity view
The Activity view is one of the most important views in Nozbe. Visit it regularly to stay on top of all recent activity in the projects and tasks you follow. You’ll also see information about newly created projects here.
If you’re a manager or team leader, this view should become your go-to place in Nozbe. In Activity, you can contribute to tasks, give feedback, support your team, and most importantly — monitor progress. In short, it shows all tasks where changes have been made.
To see what a specific person is working on, go to the Members view in the main menu and select that person. You’ll see a list of all tasks assigned to them from projects you both have access to. Keep in mind that with a Premium account, there may be projects you haven’t been invited to. If you’re using Nozbe Free, you can access all projects created by your team.
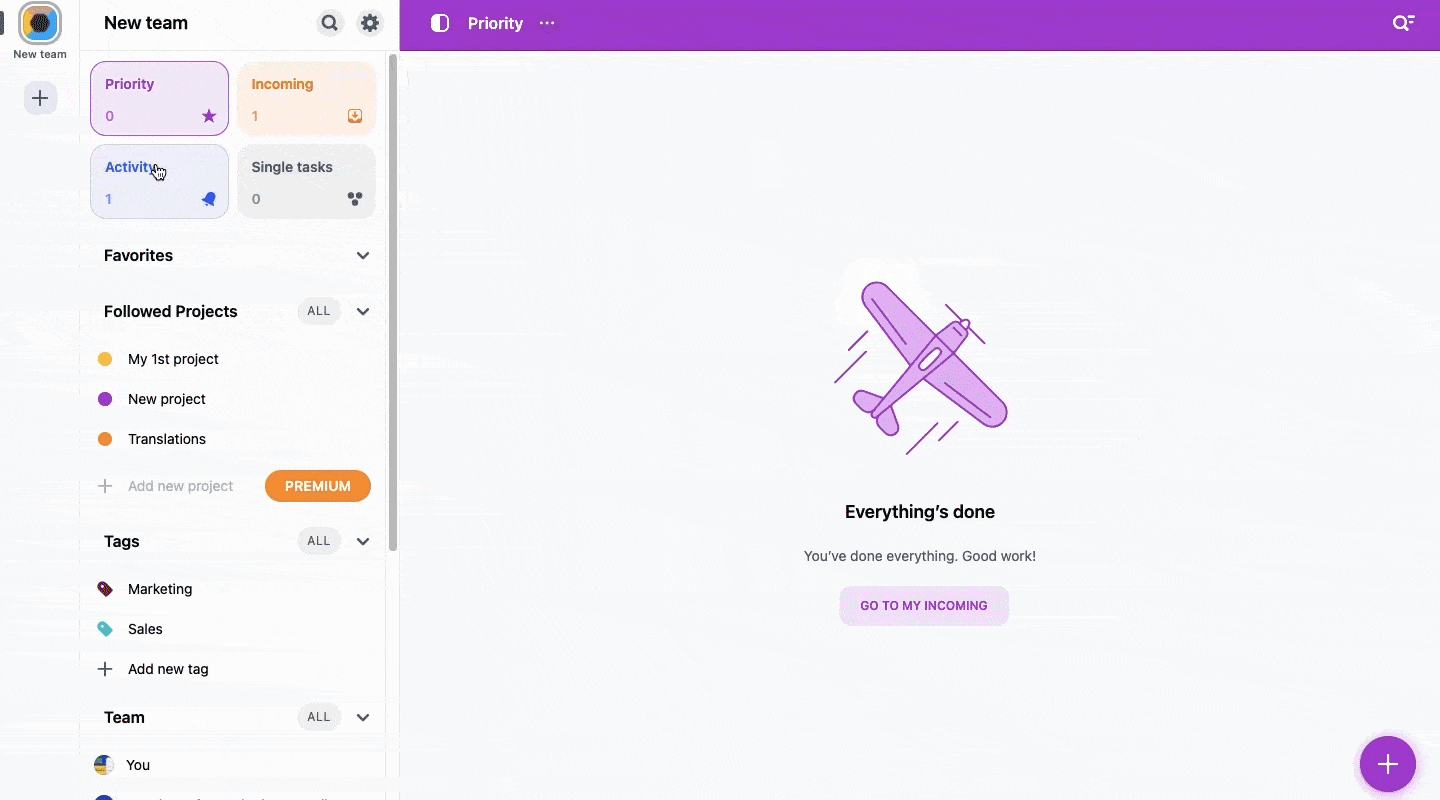
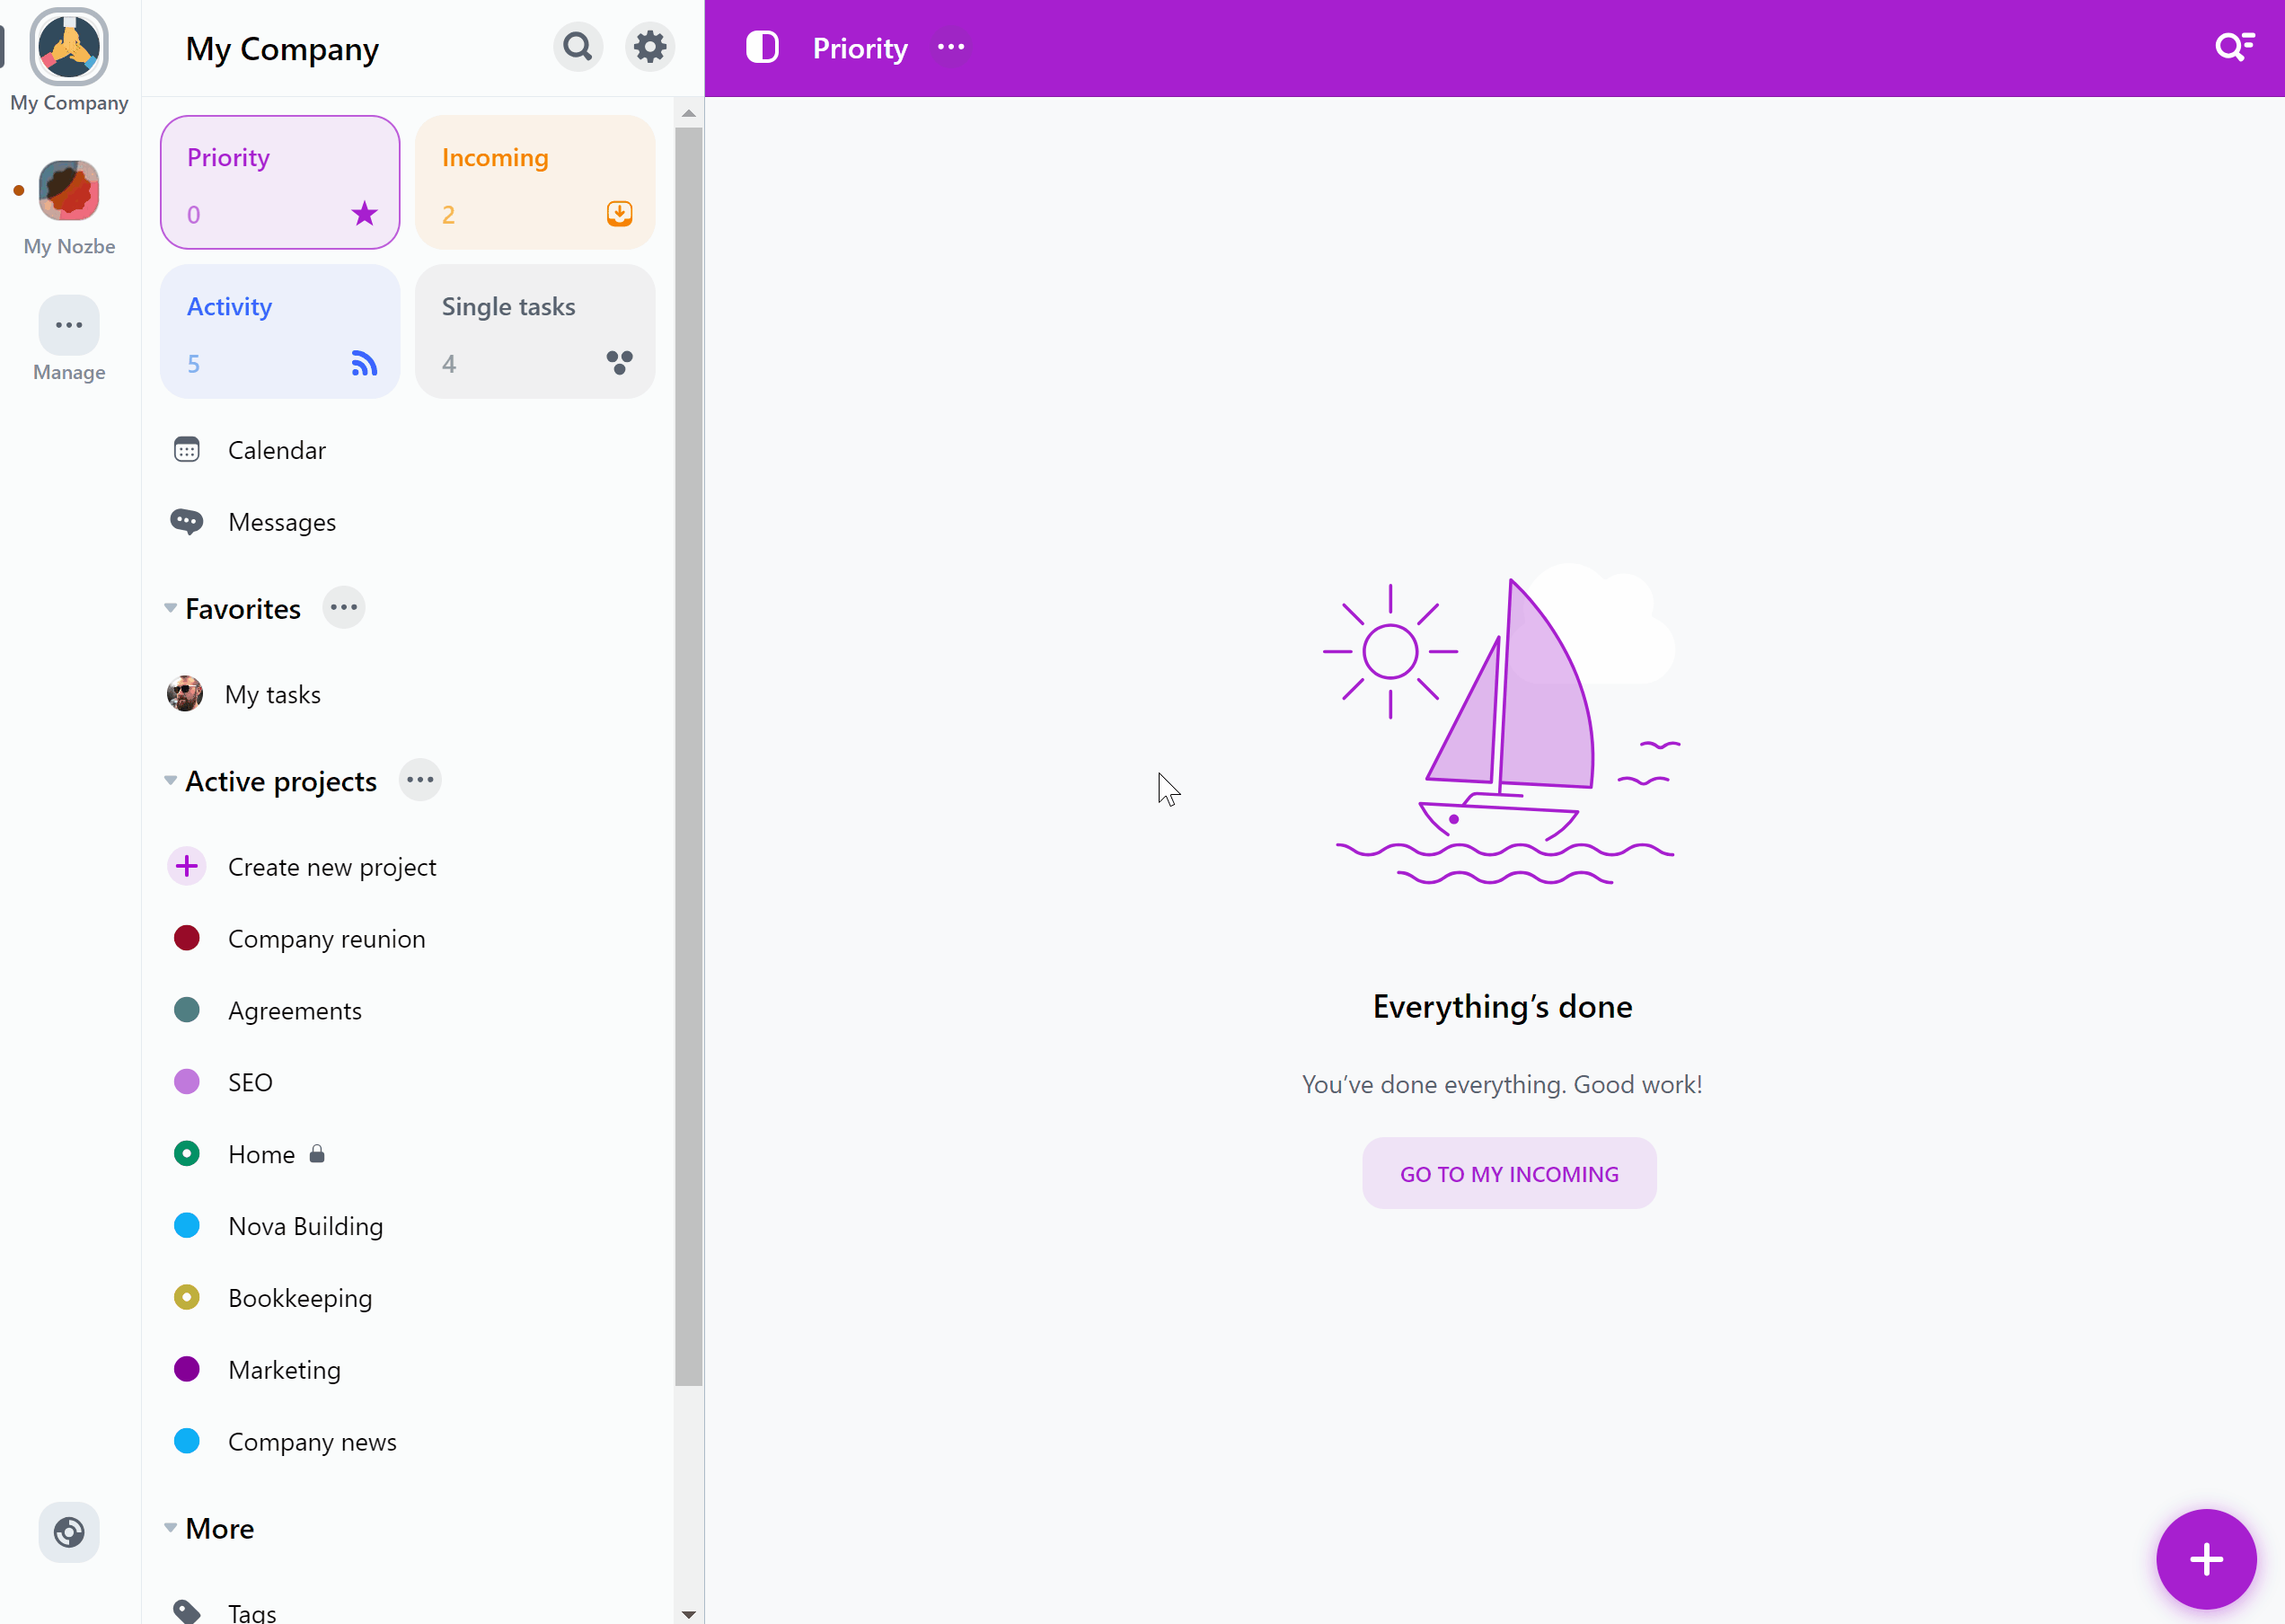
7. Review your tasks regularly — Incoming view
The Incoming view acts as your command center - it’s the place where everything that requires your attention today shows up. You’ll find:
- your tasks for today and overdue tasks,
- tasks assigned to you,
- tasks where someone mentioned you,
- tasks with reminders,
- tasks added to Nozbe from outside the app — via email or the
Shareextension in other apps.
Try to review your Incoming regularly and decide what to do with the tasks that appear there. And remember — this isn’t meant to be a storage place.
8. Be your own boss — your priorities
Now it’s time to focus on your priorities. Only you can decide which tasks should be marked as Priority. Some people star only the tasks they want to work on today. Others include tasks they want to complete this week. Everyone has their own system - and that’s okay, as long as you have one!
👉 Note: you can star tasks even if they’re not assigned to you. Add them to Priority to make sure they get done or to track progress.
You can also “teach Nozbe” which tasks should automatically appear in Priority. To do this, go to the Priority view, open its menu using the (…) icon, choose Prioritizatize automatically, select your preferences, and confirm.

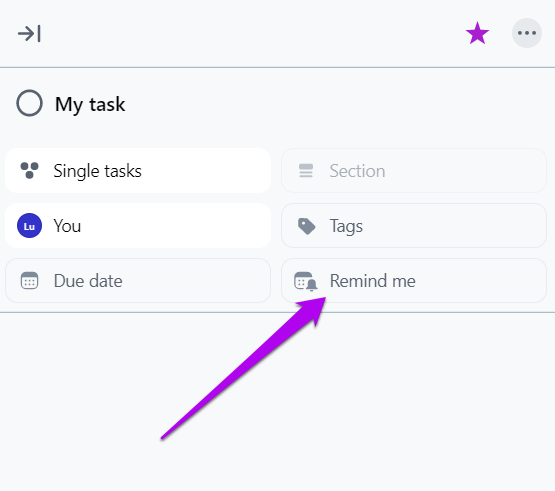
9. Don’t miss anything with Reminders
What about important tasks you don’t want to mark as Priority? Set a Reminder! Let’s say you have a task you want to work on next Wednesday, but you don’t want to overload your Priority view. What can you do? It’s simple!
✅ Open the task and select Remind me from the task details section at the top. Set the reminder for next Wednesday to get notified that day.
You can also use reminders as a start date for tasks or as a signal to begin preparing — for example, getting ready for a client meeting. You can set a reminder when you can’t work on a task right now but want Nozbe to remind you about it in an hour.
Pro tip: you can set a “relative” reminder — ... before the due date — for recurring tasks. This way, Nozbe will remind you in advance about each iteration.
10. Communicating through tasks — again
We created Nozbe to make it easier for teams to communicate and get things done. The core idea behind our app is task based communication - the best way for modern teams to collaborate.
To work efficiently, our team communicates directly within tasks. This way, everything needed to achieve business goals is in one place.
- Task-related discussions happen in comments.
- We give feedback by adding comments to tasks.
- We ask questions and get answers directly in tasks.
- We manage responsibility by assigning tasks or stages of tasks to the right people.
- And then - we get tasks done.
Everything is structured, easy to follow, and actionable. When you open a project, you can clearly see what’s going on, who is responsible, and how progress looks.
Now it’s time for your team to start working on your tasks and projects. Follow the steps in this article and build a system that delivers the best results for you. And if you have any questions or doubts:
- check out the Nozbe Help page,
- watch the tutorial video,
- contact our Customer Support team at questions@nozbe.com
- or simply: